How to restore old clay tiles
Fired clay tiles require specific care that, if not properly applied, may affect their lifespan.
Old fired clay tiles, whether inside or outside, lend extraordinary beauty to a home. The rustic environment, the home landscape that is created is unique, but often we are not aware of how to care for it. Sometimes, after cleaning, we are surprised by what we find beneath the patches of salt, cement, wax or oil that were deposited on them over time. Specific tasks are required to recover them, and particularly, special products for each case.
How to clean old fired clay tiles
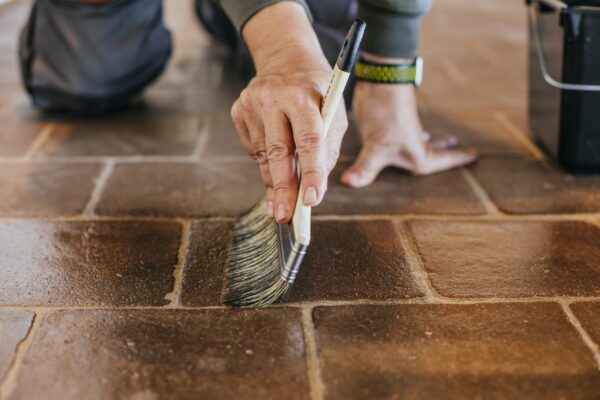
When the tiles are deteriorated or we simply want to deep clean them to prevent their damage, the process goes beyond using a mop with soap and water. Before applying specialised products, we must make sure that the floor is completely dry. If not, the cleaning will have been for nothing and the clay will leach salt as it dries. There are mainly two types of products to clean old clay tiles. On the one hand, spot removers, and on the other, cement removers, which are also used to remove mortar, sea salt and any other solid or calcium carbonate spot. Both are used diluted in water and can be applied using a professional rotary machine or, if we do not have one, with a small brush. The idea is to apply the product as targeted as possible on the spot. The product bottles will always advise of the recommended dilution percentage.
After cleaning we must quickly dry all the water from the area with a liquid vacuum or, if not, with a cotton cloth. If the floor is not clean yet, we must obviously repeat the process.
Once it is clean, it is best to not walk on the treated area for a while. The reason is simple: we need for the tiles to expel all the accumulated damp before proceeding to the next step, which is to protect them. If necessary, they can be walked on without shoes and wearing thick socks.
How to protect the tiles
It does take days for a clay floor to dry. Between four and five days outside, and from a week to ten days inside. After this we can proceed to protect our tiles. If necessary, we may have to go over the floor and scrape or sand any spots still remaining from the installation after our prior cleaning. We must then clean the floor again with a broom and vacuum cleaner.
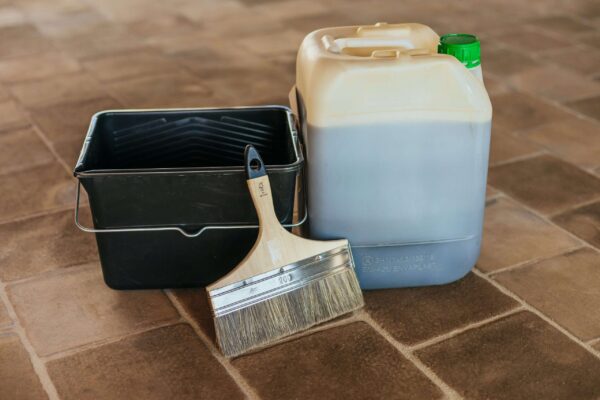
By protecting it we reduce the tile’s porousness, preventing sea salt and damp from penetrating, and also reducing the risk of household spots. Here there is no dilution. We use products based on wax emulsion. In a way, we are going to give the tile a new “skin”. This is what is traditionally known as a protective coating for the clay tile. Here we can even decide to apply products that give a matt finish or a wet finish to the entire floor.
After applying the protective product, let the floor dry completely, from four to twenty-four hours, depending on the weather, of course. Inside there is no problem, except that in no case may we step on the surface during the drying period, because that would leave marks and footsteps permanently in the clay floor. Outside, the weather dictates the drying period. We advise doing this process mainly in summer or spring, provided that there is no chance that it will rain, snow or hail on our tiles.
Top stories

What is the Nature Restoration Law?
The Nature Restoration Law is a European regulation approved in 2024, aiming to ensure the necessary actions and initiatives to repair damaged ecosystems and…
Acequias or irrigation ditches: an ancient knowledge making its comeback
“Acequias” (ditches) are one of the oldest existing systems of channeling and use of water. In the Iberian Peninsula we know them well: the…
What is a compensatory measure?
By definition, a compensatory measure is an action aimed to restore or repair de negative environmental impact of any give activity -usually of a…
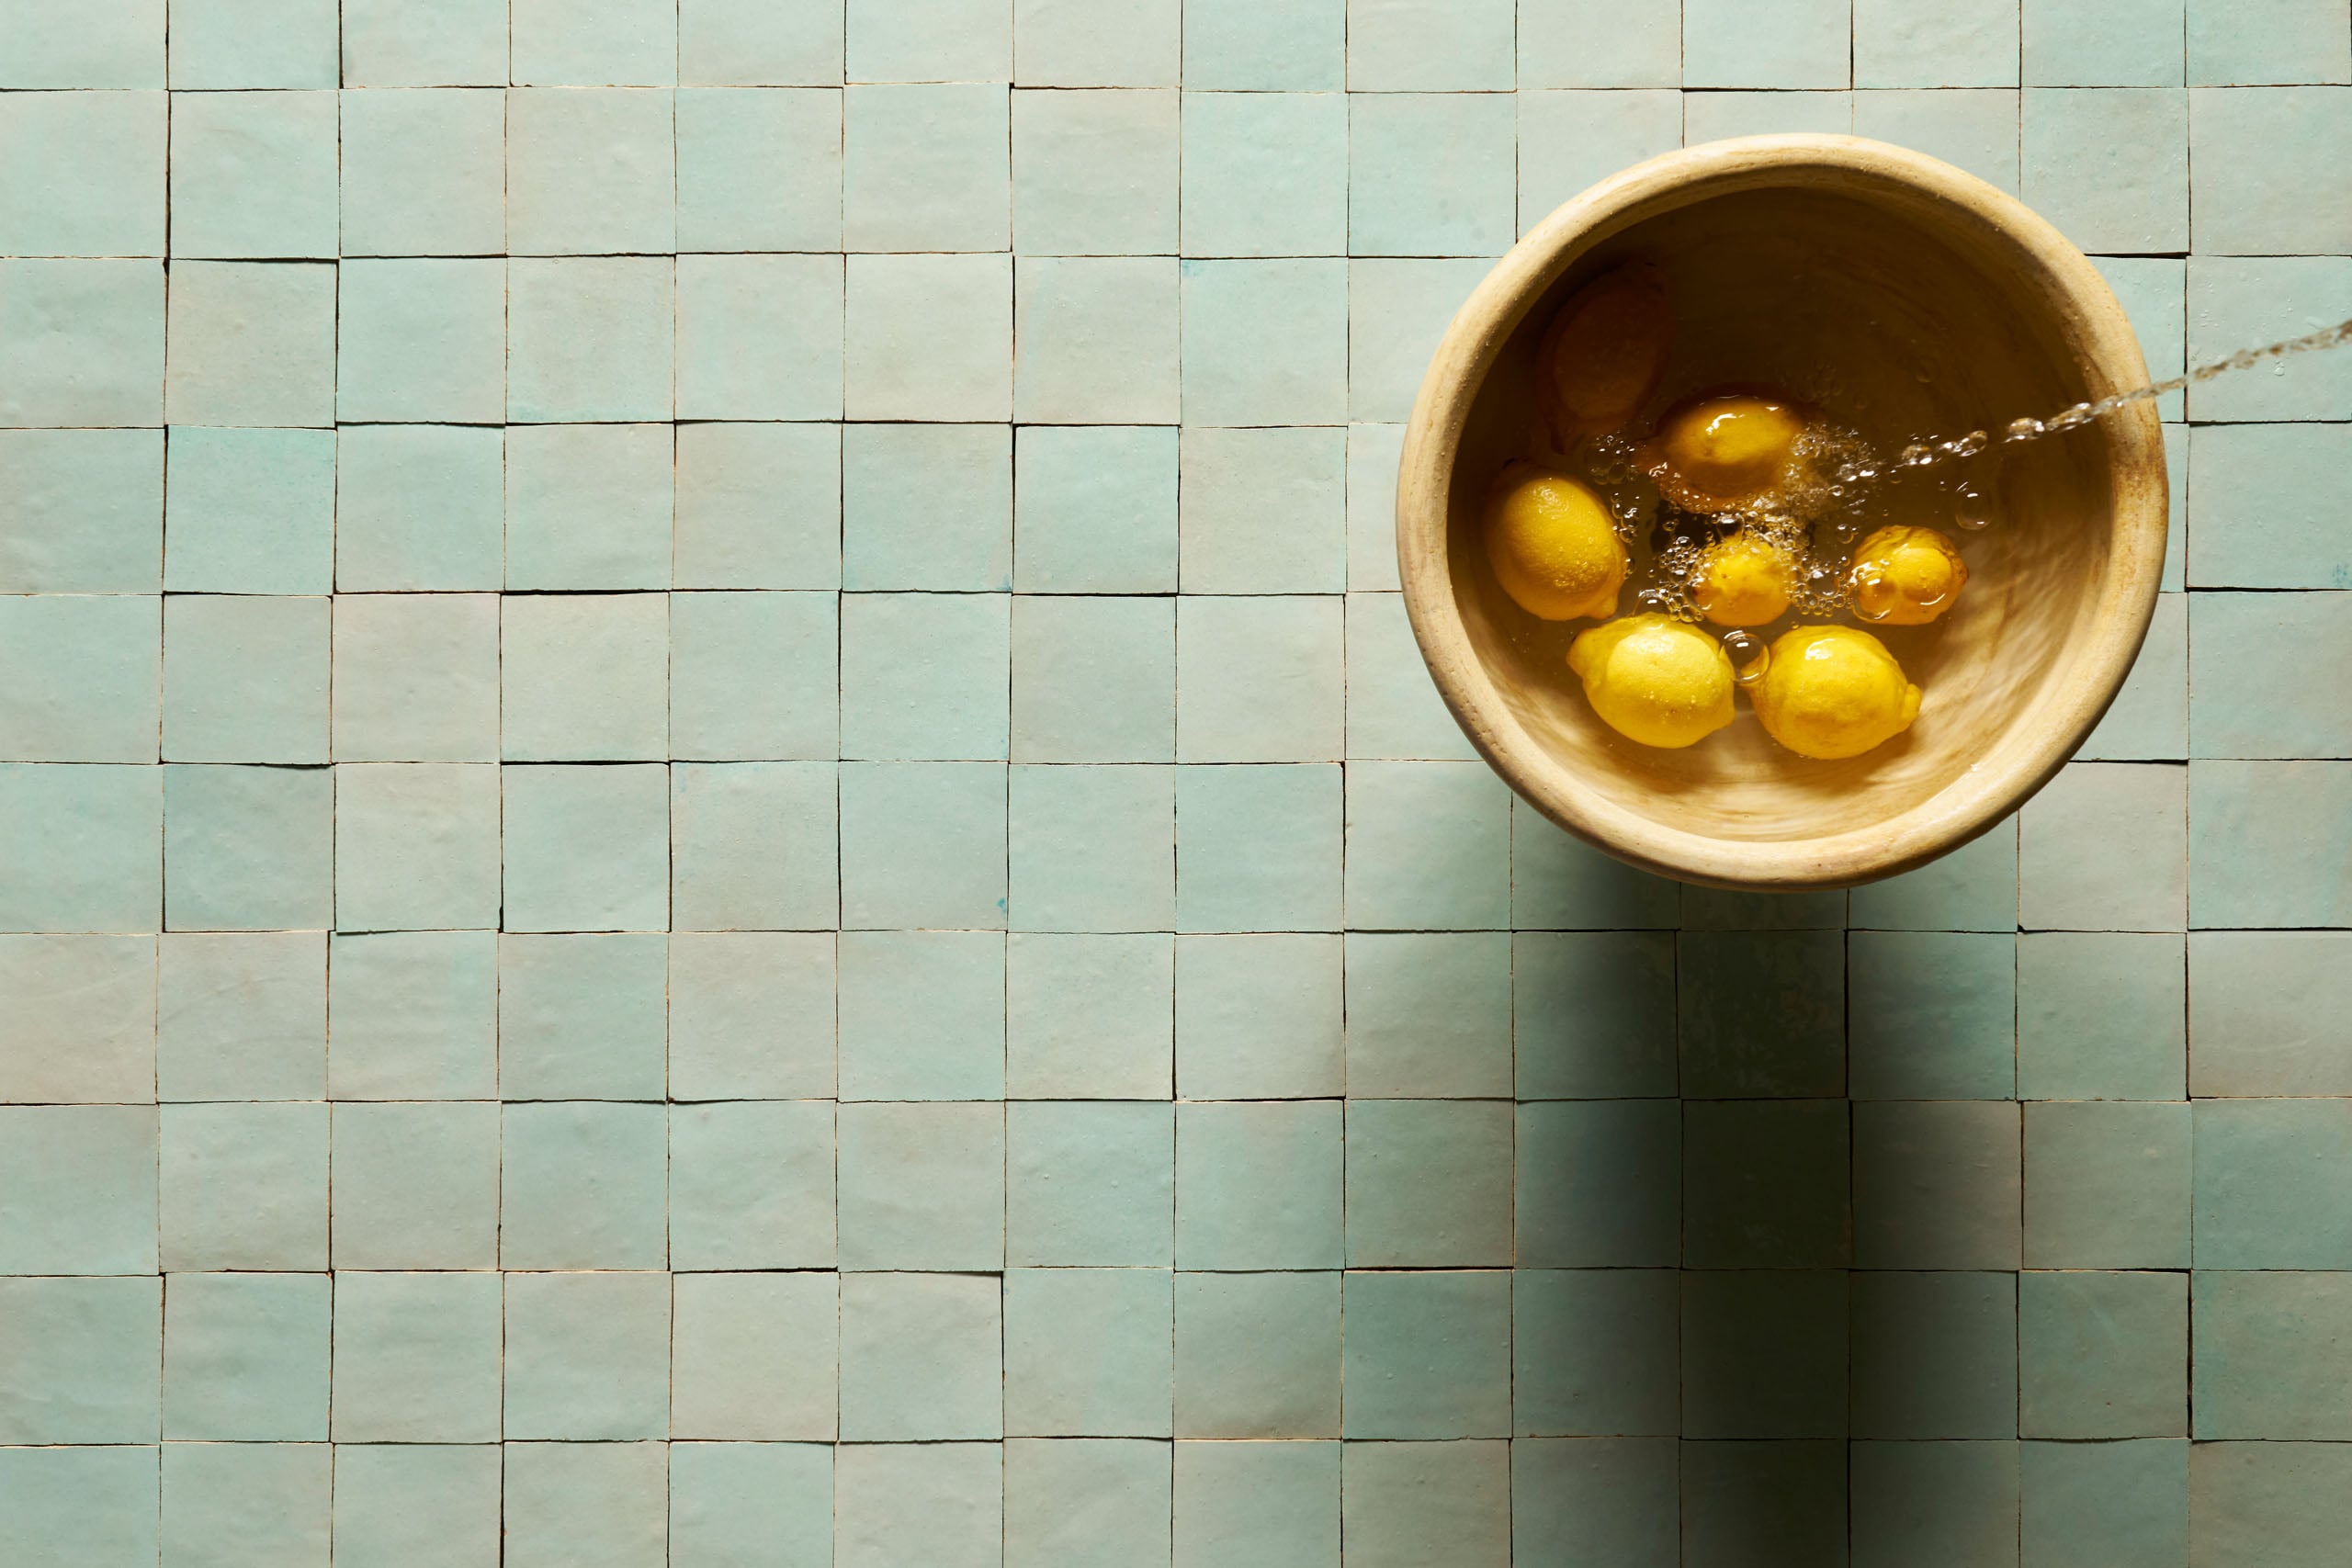
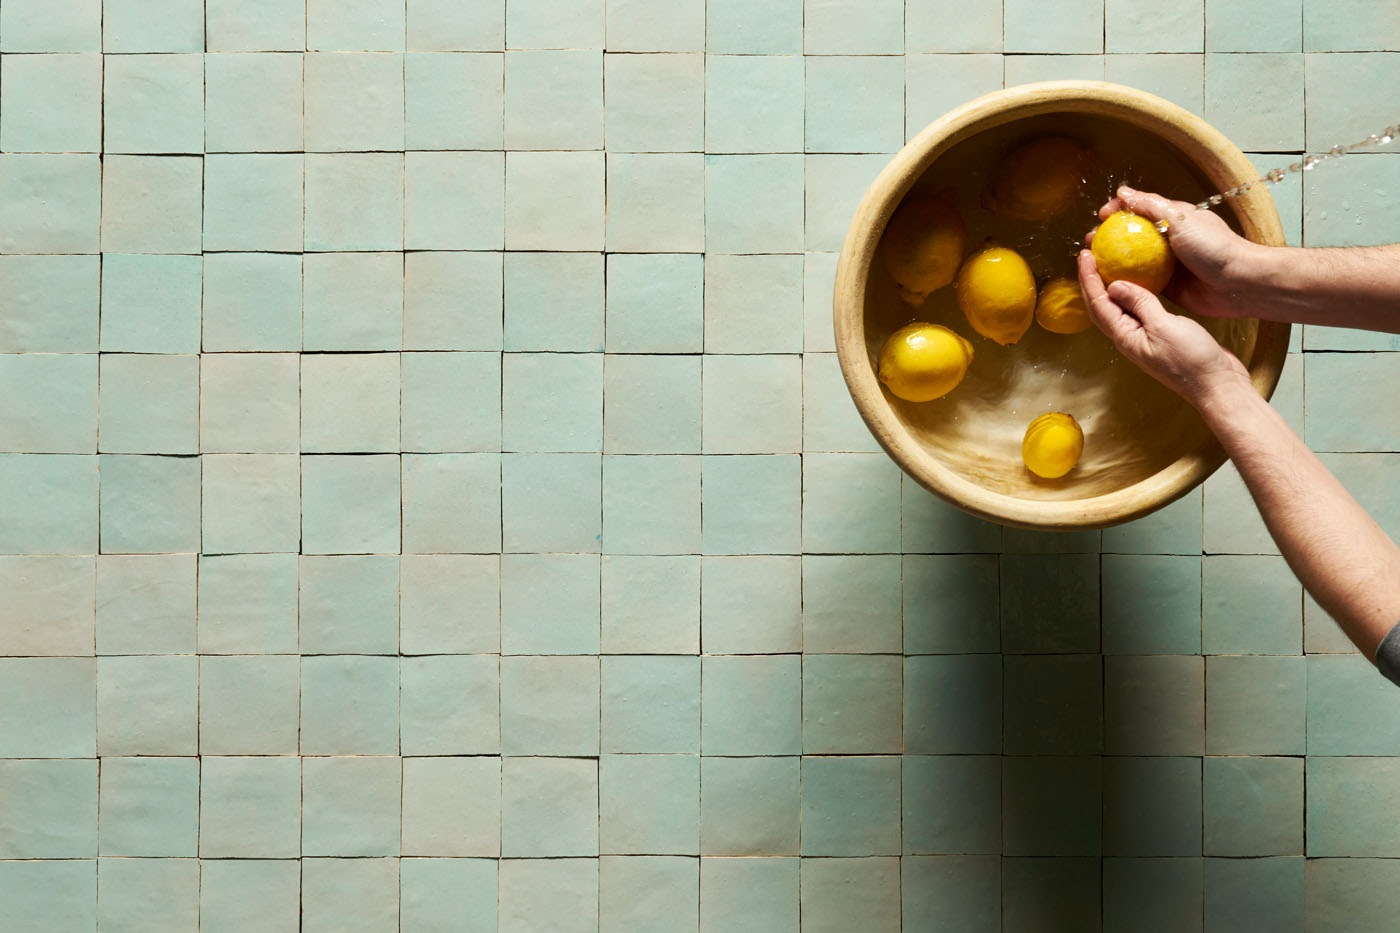
What are Zellige tiles?
The word zellige means ‘polished stone’ in Arabic. It refers to a type of traditional tile and mosaic technique characteristic of Morocco and the…


